Preserving your garden produce safely
By Julie Garden-Robinson, Food and Nutrition Specialist, NDSU Extension
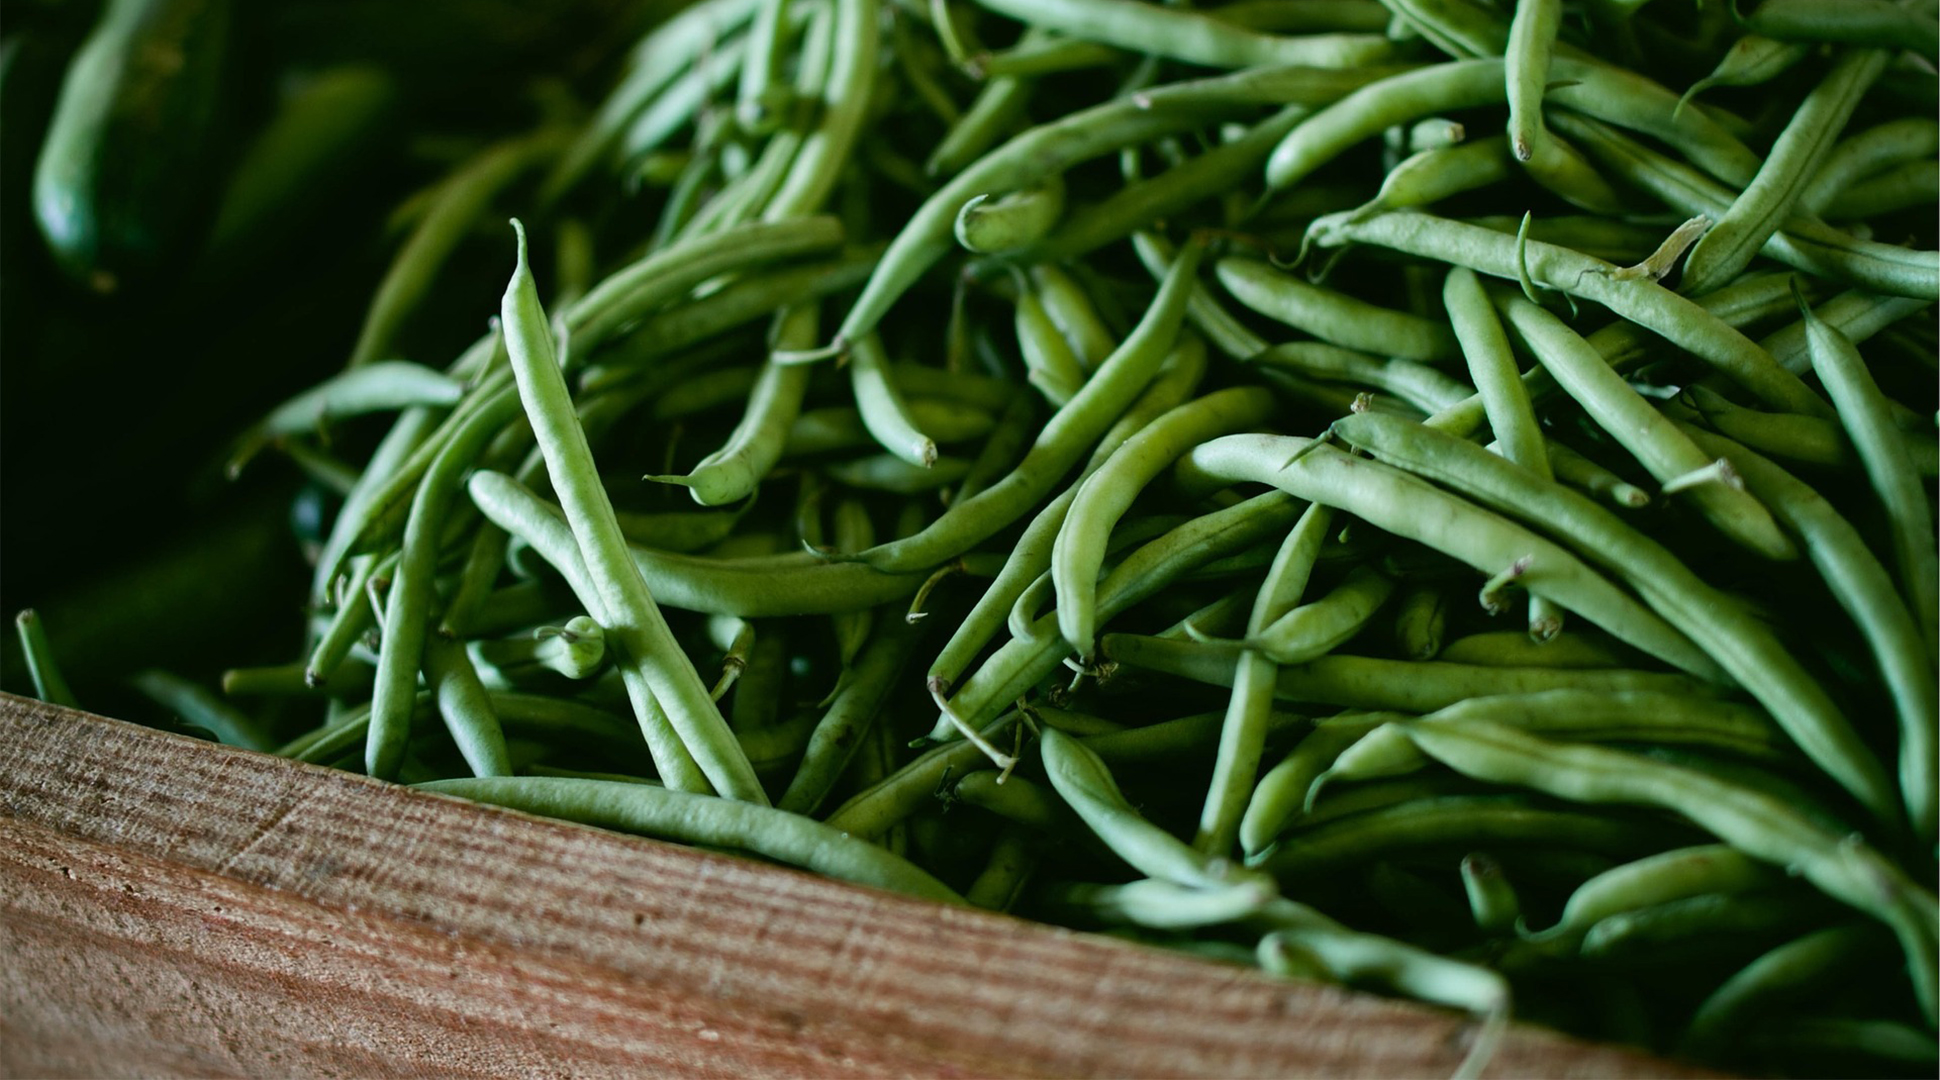
"Be sure to lift the bean plants," I instructed as I picked string beans. "There are lots more beans under here."
"I was going to let them plump up," my husband said.
"I think most are ready to pick," I said as I flipped the plant and began plucking the ample numbers of beans hiding in the foliage.
"I'll go and water plants," he said.
Note to self: Do not offer too much advice to a husband or anyone else who is helping you harvest beans or other produce. You might lose your help.
I grew up gardening and helping with food preservation. Gardening was a new adventure for my spouse when we got married. He has turned out to have a green thumb. He's also very innovative and has built gardening boxes and threaded drip-irrigation hoses around our garden beds.
If he takes care of watering, I guess I can pick the green beans by myself.
Many vegetable crops are in season, and others will be coming our way. That means we should think about using the fruits and vegetables of the season or preserving them to enjoy later.
We can preserve foods by canning, freezing, fermenting, drying, pickling and making jams/jellies. If you never have preserved foods, freezing and making jellies are good options to start.
Freezing usually requires a "blanching" step, where you steam or boil the food for a short time to inactivate natural enzymes in the plant that can lead to off-flavors or colors during frozen storage. See NDSU Extension's "Food Freezing Guide" to learn more about freezing almost any kind of vegetable or fruit.
Safety comes first, especially if you decide to preserve foods in jars.
Remember: You are a scientist when you are preserving food. The methods provided by the U.S. Department of Agriculture and the National Center for Home Food Preservation have been tested in laboratories to ensure that the products are safe and taste good.
When I see the food preservation advice being shared on social media, I cringe.
Some of the advice is a recipe for potential botulism, which is a particularly dangerous form of foodborne illness. In fact, botulism can be fatal and has been associated with food improperly canned at home.
If your friends tell you about "easier" ways to preserve food, please note that oven canning, dishwasher canning and "sun canning" are not safe. Proper equipment is widely available in numerous retail stores and online.
In fact, even some of the late-night infomercial canning devices that are being sold do not pass the safety test.
Be sure to follow only current guidelines for canning food. In the case of home-canned green beans, you must use a pressure canner for safety. A pressure canner increases the temperature to the point where spores (inactive forms of bacteria) are killed.
Pickling recipes are canned in a boiling water-bath canner, so the pickled green bean recipe provided with this column is safe to process in a water-bath canner because of the added vinegar. We also recommend a brief water-bath canning treatment for jellies and jams.
Here are some general rules for safe canning:
- Invest in a scale to weigh produce because many research-tested recipes use weights instead of household measures.
- Use a pressure canner and current U.S. Department of Agriculture processing guidelines to can low-acid foods, such as vegetables, meats and many mixtures of foods.
- Acidify tomatoes with the recommended amount of bottled lemon juice or citric acid prior to canning (1 tablespoon, or Tbsp., of bottled lemon juice per pint of tomatoes; 2 Tbsp. per quart). Be sure to process the tomatoes for the recommended time.
- Use research-tested salsa recipes and do not alter ingredient proportions. Adding more onions and peppers, for example, changes the acidity. If you create your own salsa and want to preserve it, freezing it is the safest option.
- If you buy seasoning packets to make salsa or other foods for canning, follow the instructions for the amounts of ingredients, such as peppers and onions, to add. Do not add extra ingredients unless you plan to refrigerate or freeze the recipe.
- Seal jams and jellies with a regular canning lid (not wax) and process in a boiling water-bath canner for five to 10 minutes, depending on altitude.
Free food preservation resources (canning, pickling, making jams and jellies, drying, freezing) are available at http://www.ag.ndsu.edu/food.
Julie Garden-Robinson, Ph.D., R.D., L.R.D., is a North Dakota State University Extension food and nutrition specialist and professor in the Department of Health, Nutrition and Exercise Sciences. Follow her on Twitter @jgardenrobinson